Plus U4-232h Bedienungsanleitung
Stöbern Sie online oder laden Sie Bedienungsanleitung nach Projektoren Plus U4-232h herunter. Plus U4-232h User`s manual Benutzerhandbuch
- Seite / 64
- Inhaltsverzeichnis
- FEHLERBEHEBUNG
- LESEZEICHEN
- U4-232/U4-232h 1
- IMPORTANT SAFETY INFORMATION 2
- Important Safeguards 3
- Major Features 4
- Table of Contents 5
- Menu Operations 6
- Adjustments and Settings 6
- Miscellaneous 6
- “WARNING” 8
- Names of the Main Unit Parts 9
- Built-in Security Slot 10
- Preparing the Remote Control 12
- Placement Guide 14
- MONITOR OUT 15
- COMPONENT 19
- Operating 21
- Caution: 22
- Finishing 23
- General Operation 26
- Selection of Aspect Ratio 27
- Freezing a Moving Picture 28
- Lamp Mode 28
- Keystone 29
- Adjustment of the Volume 29
- Using the Presentation Timer 31
- Using the Quick Menu 34
- Menu Operation Method 35
- Performing Menu Operations 37
- Fine Picture 43
- H Position 43
- V Position 43
- Quick Color Adj 44
- Color Temp 45
- Color Space 45
- White Balance 46
- Vertical Flip/Horizontal Flip 48
- Keystone Save 48
- Auto Source 49
- Auto Power Off 49
- Menu Position 49
- Presentation Timer 50
- Input Format 50
- Language 51
- On Screen 51
- Background 51
- Startup Screen 52
- Security Lock 52
- Factory Default 53
- Lamp Timer Reset 53
- Resolution / Frequency 54
- Lamp Timer 54
- Thermal Protector 55
- Troubleshooting 56
- Cleaning 57
- Replacing the Lamp Cartridge 58
- Specifications 61
- Horizonral (kHz) 62
- Vertical (Hz) 62
- Cabinet Dimensions 63
Inhaltsverzeichnis
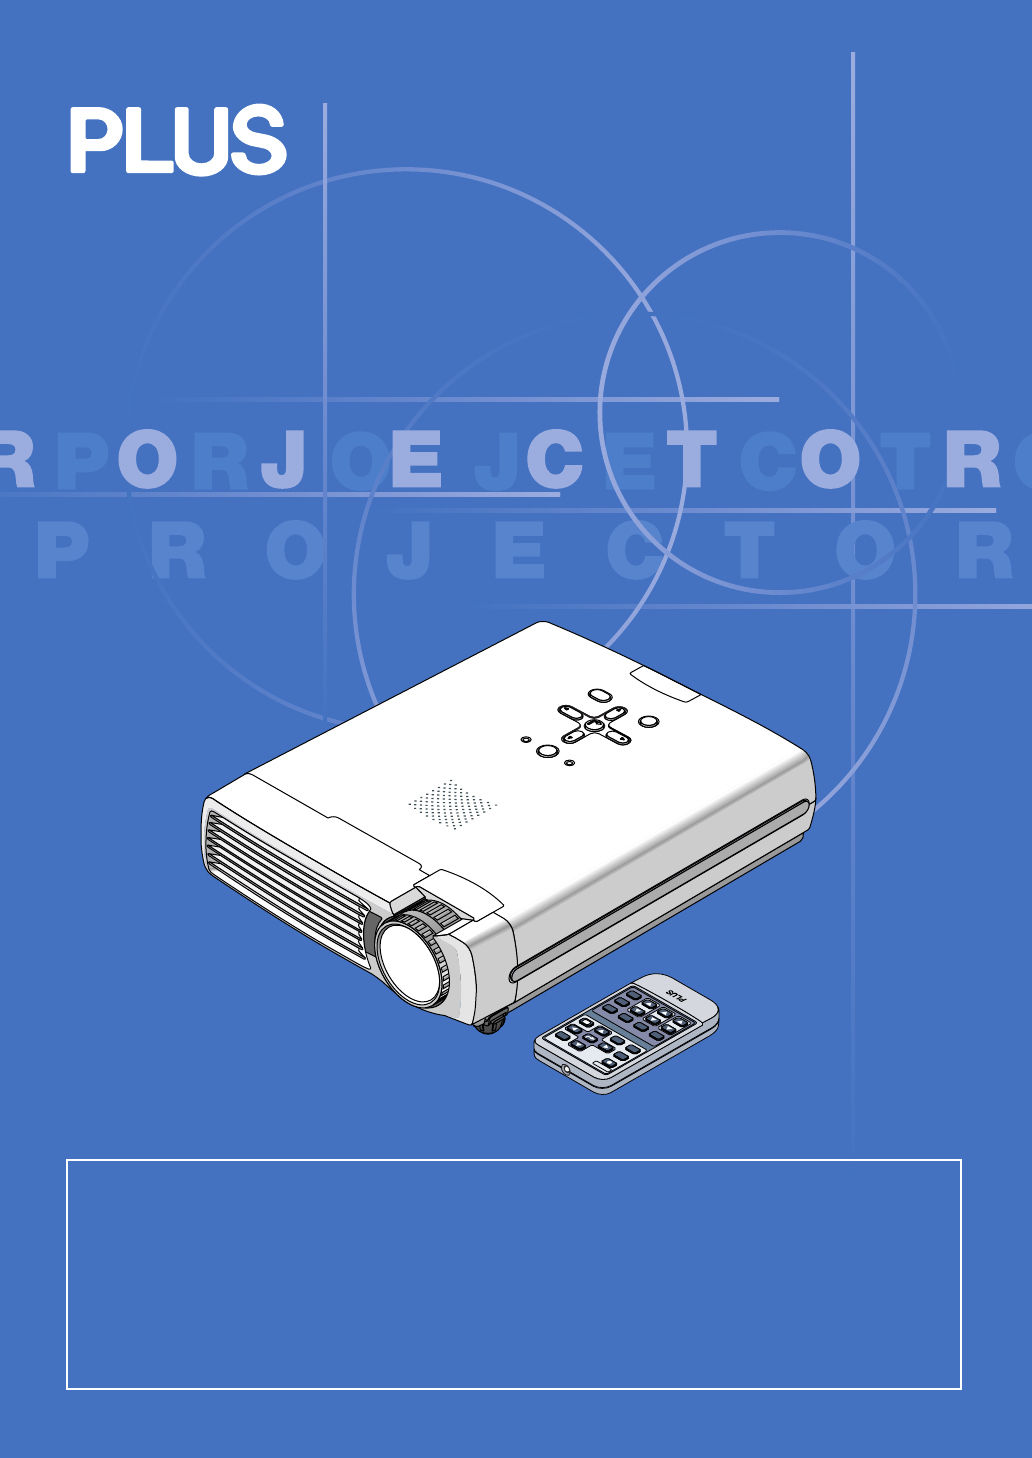
U4-232/U4-232hSTAT USSOURCESTANDBYAUTOMENUQUICKMENURGBSTANDBYVIDEOFREEZEMUTEECO AUTOASPECTTIMERVOL KSTN ZOOMCANCELQUICKMENUENTERQ1234IMPORTANT* DLP™ (
E-10Names of the Main Unit PartsBuilt-in Security SlotThis security slot supports the MicroSaver Security System manufactured byKensington Microware I
E-11Names of the Remote Control PartsRGBVIDEOFREEZEMUTEECO AUTOASPECTTIMERVOL KSTN ZOOMCANCEL QUICKMENUENTERQSTANDBY1234Infrared transmitter [E-12]VOL
E-12Using the remote control for the first timeThe battery compartment is fitted with a transportation insulation sheet at the time of shipping. Pullo
E-13The Procedure Up to Projecting to the ScreenPerform setup adjustments in the following order.1 Position the projectorDetermine the locations to se
E-14Placement Guide• Use this information as a guide to find out about the screen size when the projector is placed at a certain location, orto find o
E-15Connecting Personal Computers and Video EquipmentConnecting this unit with a personal computer permits presentation data to be projected as a larg
E-16Connecting Personal Computers and Video EquipmentPersonal Computers with a Mini D-Sub 15-Pin Connector• When making connections with the DVI conne
E-17Connecting Personal Computers and Video EquipmentTo Output the External Output Signal of a Notebook ComputerWhen projection will be with a noteboo
E-18Connecting Personal Computers and Video EquipmentS-VIDEOVIDEOConnections with Composite SignalsVideo Equipment with VIDEO Connectors• Make the con
E-19Connecting Personal Computers and Video EquipmentNoteIn some rare cases, the picture may not be displayed, depending on the connected device.Proje
E-2IMPORTANT SAFETY INFORMATIONPrecautionsPlease read this manual carefully before using your PLUS Data Projector and keep the manual handy for future
E-20Connecting Personal Computers and Video EquipmentConnections with Audio Connectors* Make the connection to the projector’s AUDIO connector using t
E-21Power Cable Connections and Switching the Power On/OffDVI AUDIO VIDEOS-VIDEOSTATUSSOURCESTANDBYAUTOMENUQUICKMENUMOUSESTATUS STANDBY STATUS STANDBY
E-22Power Cable Connections and Switching the Power On/OffWhen [Menu Language Select] is Displayed Upon Switching On the PowerThe first time the power
E-23Power Cable Connections and Switching the Power On/OffRGBSTANDBYVIDEOFREEZEMUTEECO AUTOASPECTCANCEL QUICKMENUENTERQ1234Finishing1Switch off the po
E-24Adjustment of the Projection ScreenSwitch on the power of the connected equipment and make the adjustments with the video signal being input to th
E-25Adjustment of the Projection Screen(1)STATUSSOURCESTANDBYAUTOMENUQUICKMENU(1)(2)DVIAUDIOVIDEOS-VIDEOMOUSESTATUSSOURCESTANDBYAUTOMENUQUICKMENU3Turn
E-26General OperationThis section describes the use of direct operation with the main unit or remote control buttons.For information about operation u
E-27General OperationSelection of Aspect RatioThis function selects horizontal and vertical picture proportions of the inputsignal.Press the ASPECT bu
E-28Freezing a Moving PictureThis function is used to stop and view a moving picture. Note that the inputimage continues to advance even though the pi
E-29KeystoneUse this to adjust for trapezoidal (keystone) distortion of the pro-jected image.Adjustment Method(1) Press the 왖 or 왔 KSTN button to make
E-3Important SafeguardsThese safety instructions are to ensure the long life of the unit and to prevent fire and shock. Please read themcarefully and
E-30General OperationEnlargement of the Image and Video MovementThis function digitally enlarges the personal computer image and videoimage.(1) Press
E-31General OperationUsing the Presentation TimerNote:* The timer display will be closed while the menu or the quick menu is displayed, and while a me
E-32General OperationProtecting the Projector with the Security LockA password can be registered and the security lock set in order to protect the pro
E-33General OperationIf the password input display appears when the power is turned onWhen a password has been registered, the “Password” input window
E-34General OperationUsing the Quick MenuThis function permits frequently used adjustments to be performedquickly.Note that the Quick Menu will not be
E-35Menu Operation Method• This section describes only the menu operation method. Please see this item should you need information whileperforming men
E-36Menu Operation MethodMenu Screen Names and FunctionsMenu NameThis is the title of the menu.There is a change to the title screenwhen the menu is s
E-37Menu Operation MethodPerforming Menu Operations• Only “Setup”, “Options” and “Info.” can be selected when no signal is being input.• The menu disp
E-383 Press the 왔 SELECT button to display the item name selection cursor.Displaying the CursorThis condition al-lows selection of theitem name.RGBSTA
E-39Menu Operation Method6Press the MENU button and close the menu displayClosing the MenuRGBSTANDBYVIDEOFREEZEMUTEECO AUTOASPECTTIMERVOL KSTN ZOOMCAN
E-4Major Features䡵 Lightweight (at about 1.5 kg/3.3 lb) high-intensity mobile projectorThe synergy of the DLP™ (Digital Light Processing) display syst
E-40List of Item Names Offering Input Selection and Adjustments/SettingsThe item names that can be adjusted/set will differ depending on the input sig
E-41ImputTerminalPC VIDEODigital RGBComponentVIDEOS-VIDEOMenu nameSetupInfo.Auto SourceE-49嘷 嘷嘷嘷Item NameReferencePageSub MenuItem NameAuto Power OffE
E-42Image• Perform this operation while projecting the picture for which the adjustment/setting will be made.• Select the menu name “Image”.See “Menu
E-43Fine PictureAdjust this when the picture shows a lack of color fidelity or flickering.Select the “Fine Picture” item name and adjust with the SELE
E-44Color• Do the following operation while displaying the image you want to adjust or set.• Select the menu name “Color”.See “Menu Operation Method”
E-45ColorColor Temp.The screen color is affected by the color of the illumination and otherextraneous light.This function adjusts the white, which is
E-46White BalanceThis function automatically adjusts the black level and the white level ofthe analog RGB input signal to suit the personal computer.1
E-47View• Perform this operation while projecting the picture for which the adjustment/setting will be made.• Select the menu name “View”.See “Menu Op
E-48Vertical Flip/Horizontal FlipIn selecting the method of projecting to the screen, these functions areset when the projector is in a rear screen in
E-49Setup• Select menu name “Setup”.See “Menu Operation Method” on Page E-35 for information about performing menu operations. The item name display w
E-5Table of ContentsPreparation and Background KnowledgeIMPORTANT SAFETY INFORMATION ...
E-50SetupLamp ModeUse this if the picture is projected on a small screen and the picture istoo bright or when projecting images in dark rooms.Select t
E-51Option• Select menu name “Option”.See “Menu Operation Method” on Page E-35 for information about performing menu operations. The item name display
E-52Startup ScreenThis is the selection of whether or not to display the logo screenat startup time.Select item name “Startup Screen” and select the s
E-53Info.• Select menu name “Info.”.See “Menu Operation Method” on Page E-35 for information about performing menu operations. The item name display w
E-54Resolution / FrequencyThis function displays the resolution and frequency of the detected in-put signal.Info.Lamp TimerThis displays the lamp time
E-55When an Indicator is Lit or BlinkingSTATUSSOURCESTANDBYAUTOMENUQUICKMENUSTATUS STANDBYSTATUS STANDBYSTATUS STANDBYSTATUS STANDBYSTATUS STANDBYThe
E-56TroubleshootingCheck the following matters before requesting servicing.• Is the power cord plugged into a power outlet?• Is the lamp cover properl
E-57Cleaning• Be certain to disconnect the power plug from the power outlet before cleaning.• Do not spray or otherwise expose the projector, lens, or
E-58Replacing the Lamp Cartridge• The lamp that is used as a light source in the projector has a limited service life. The rated service life of the l
E-59Replacing the Lamp CartridgePreparations: Turning the projector upside-down on top of a soft cloth, etc., so that it does not get scratched makes
E-6Table of ContentsMenu OperationsMenu Operation Method ...
E-60Replacing the Lamp Cartridge5Mount the new lamp cartridge.(1) Place the lamp cartridge with its socket facing to theright and push it in slowly.(L
E-61SpecificationsModel U4-232/U4-232hOpticalMethod of projection : DLP™ (single chip DMD)DMD 0.7 inches 1024⳯768 dotsLamp 180 W high pressure mercury
E-62Table of Supported FrequenciesThe projector automatically identifies the signal input from the computer and selects the optimum resolution as show
E-63STATUSSOURCESTANDBYAUTOMENUQUICKMENUCabinet DimensionsUnit: mm (inch)190 (7.5)53 (2.1)12 (0.5)242 (9.5)
E-7Checking the Supplied AccessoriesRemove the main unit and the accessories from the box and check that the following items are included.RGBSTANDBYVI
E-8Checking the Supplied Accessories“WARNING”Handling the cables supplied with this product, willexpose you to lead, a chemical known to the State ofC
E-9Names of the Main Unit PartsSTAT USSOURCESTANDBYAUTOMENUQUICKMENUFront adjuster button [E-25](There is also one on the right side.)Focus ring[E-25]
Verwandte Produkte und Handbücher für Projektoren Plus U4-232h
 (235 Seiten)
(1 Seiten)
(12 Seiten)
(33 Seiten)
(235 Seiten)
(1 Seiten)
(12 Seiten)
(33 Seiten)
© 2020, manymanuals.de. Alle Rechte vorbehalten. | 0.039 s |
 Manymanuals.com
 Manymanuals.de
 Manymanuals.fr
 Manymanuals.it
 Manymanuals.pl
 Manymanuals.cz
 Manymanuals.es
 Manymanuals-pt.com
Kommentare zu diesen Handbüchern